Jetstream2 is one of the many providers of supercomputing services via the ACCESS program. It provides an easy to use interface to build and create instances in order to make use of your ACCESS Allocation Credits! In this tutorial we will cover how to access Jetstream2 and get started with basic development container environments in it!
- Accessing Jetstream2
- Adding SSH key
- Creating an instance
- Adding instance to VS Code
Prereqs
- Have previously completed Step 2 of the PSTAT User Account Sign-up
- Basic container usage tutorial completed
Useful Links
Google Docs Version of Tutorial

- Make sure that you have created an ACCESS ID. For most users, it is sufficient to "Register Without an Existing ID".
- Once you have been approved for an allocation request, head over to the Jetstream2 website and click "Jetstream2 Login":
- Click on "Add allocation":

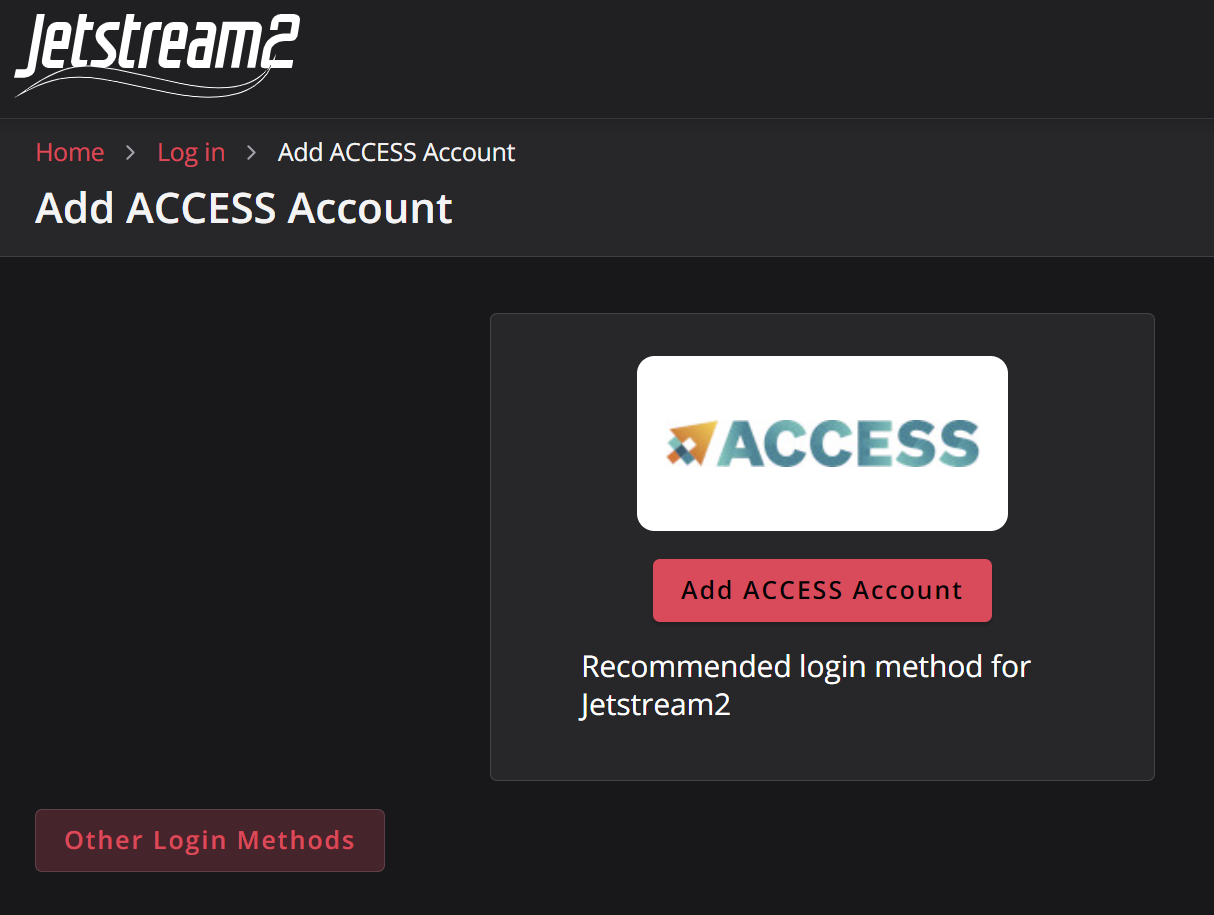
- Click "Add ACCESS Account":
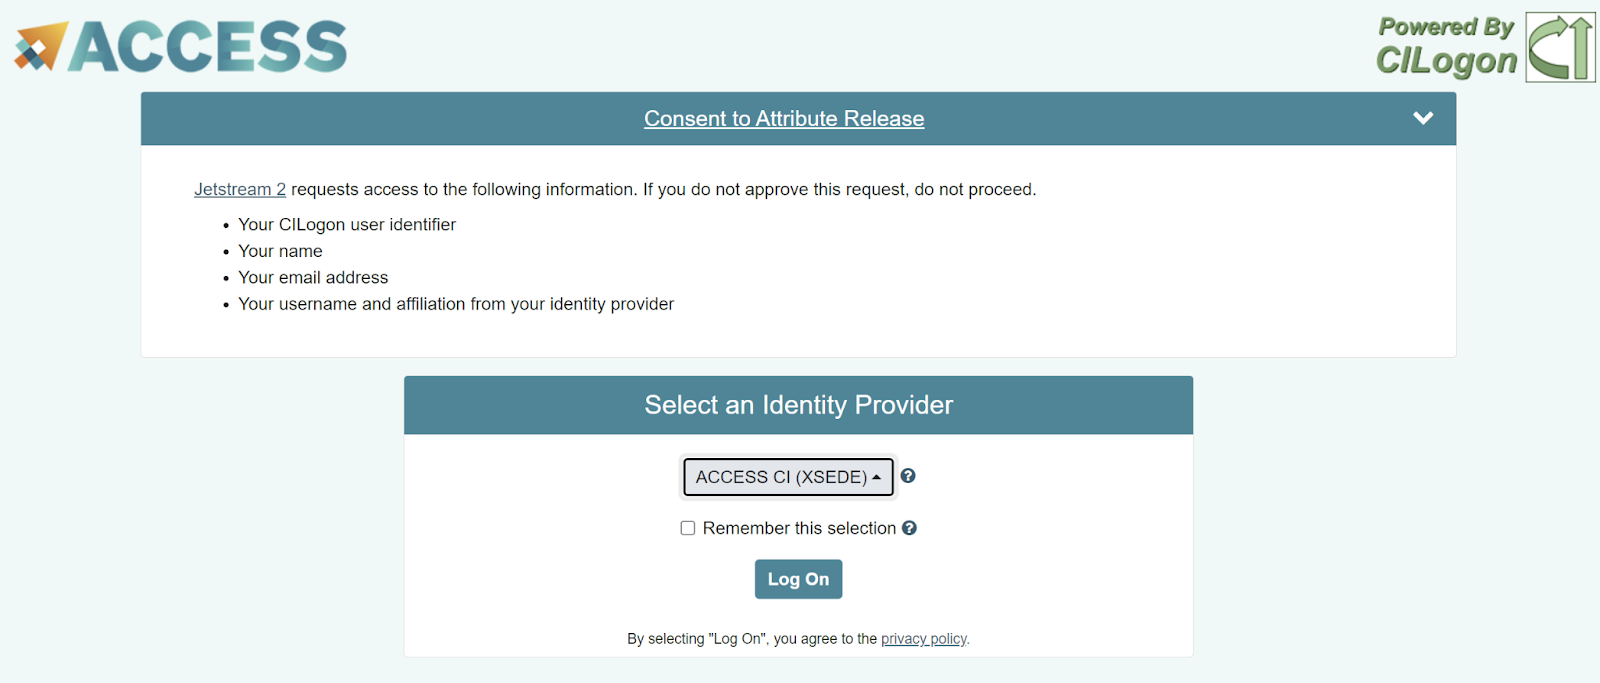
- Complete the login. In the drop down menu select "University of California, Santa Barbara" (if creating an account with a UCSB email address):
- At this point, you will either see your allocation or will need to ask your PI to add credit allocations to your account. You should see something like this:
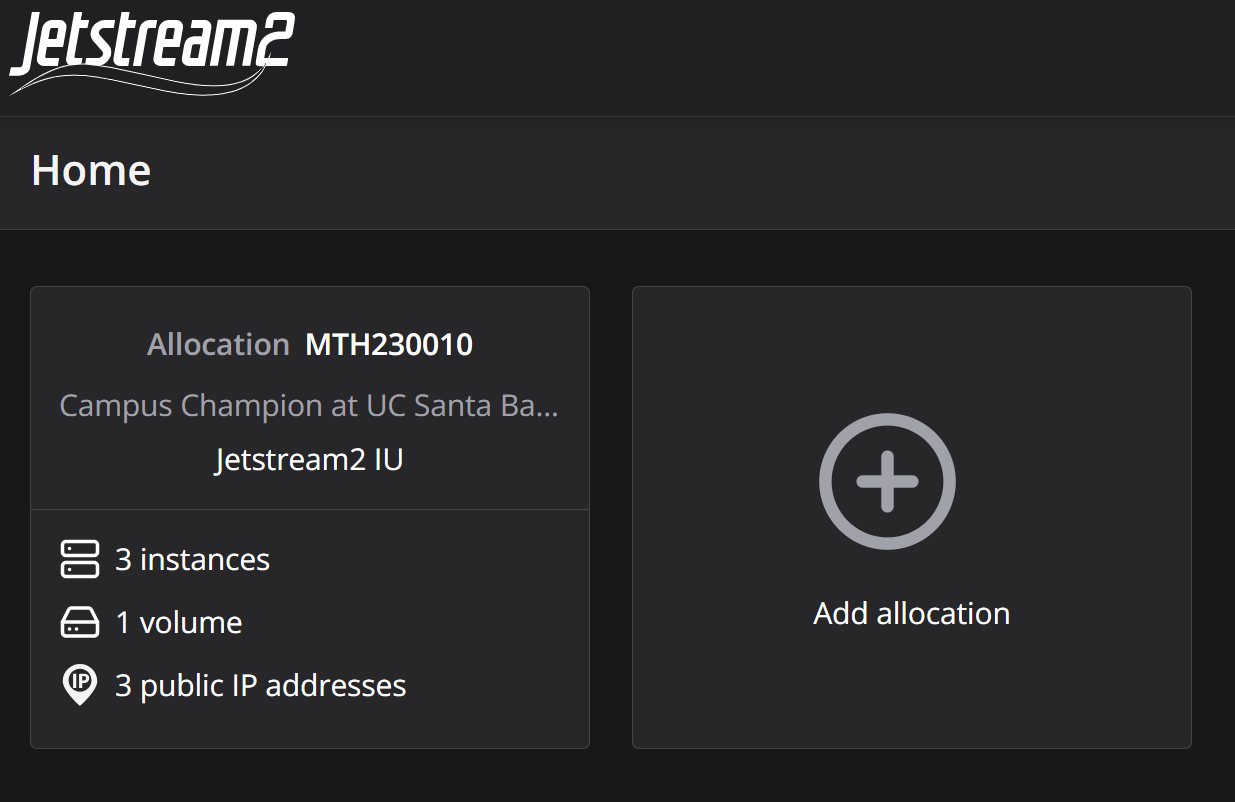
- Click on the Allocation.
Before we create our computing instances, it is best to add an SSH key that is associated with your personal computer. The reason for this is so that authenticating to Jetstream2 is made simpler without needing to use cumbersome passwords.
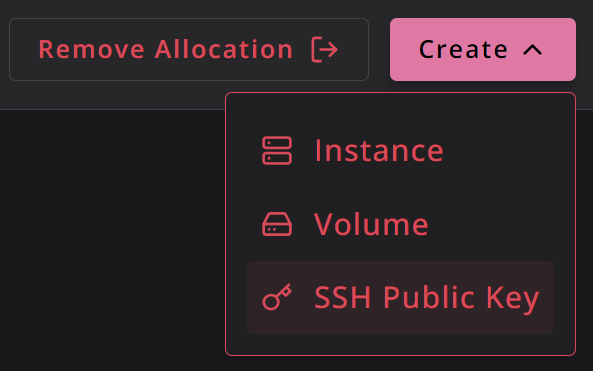
- From your allocation menu, click "Create" -> "SSH Public Key":
- Name your key (e.g. my-laptop, my-desktop, etc.)
- Open up your terminal and type in
code .ssh/<your-key-name>.pub(wherecat .ssh/<your-key-name>.puband using your mouse to select the key and pressingctrl/⌘ +shift+cto copy the key.
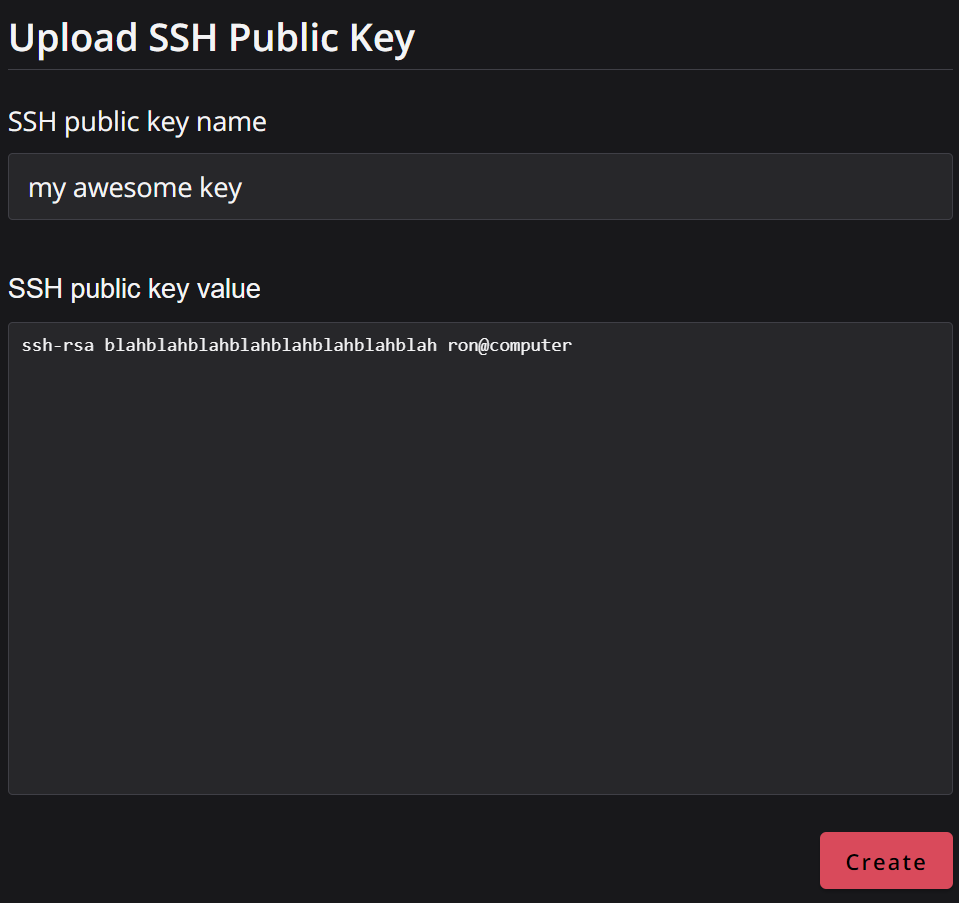
- Click "Create"
Jetstream2 makes it easy to create computing instances of various sizes. It is as simple as clicking "Create" -> "Instance" and selecting from the options provided. The PSTAT Computing Committee provides a community snapshot that will allow you to get started with an instance and development containers with ease!
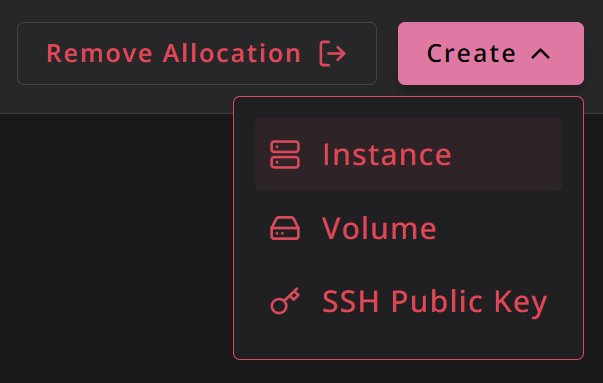
- From your allocation menu, click "Create" -> "Instance":
- In the "Choose an Instance Source" window, select "By Image":
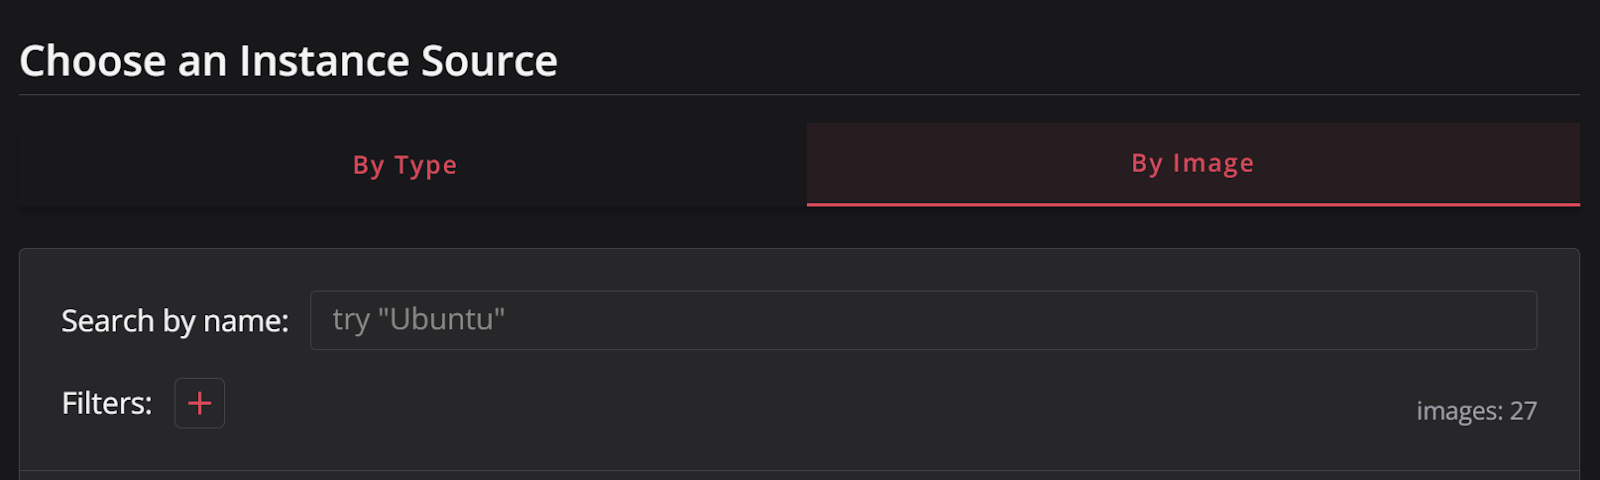
- In the "Search by name" box, type "ucsb", you will see a UCSB Computing Image community snapshot pop up in the options. Click on "Create Instance":

- From here, select the size of your instance. Be aware that bigger sizes will mean more credits spent per hour while in use!
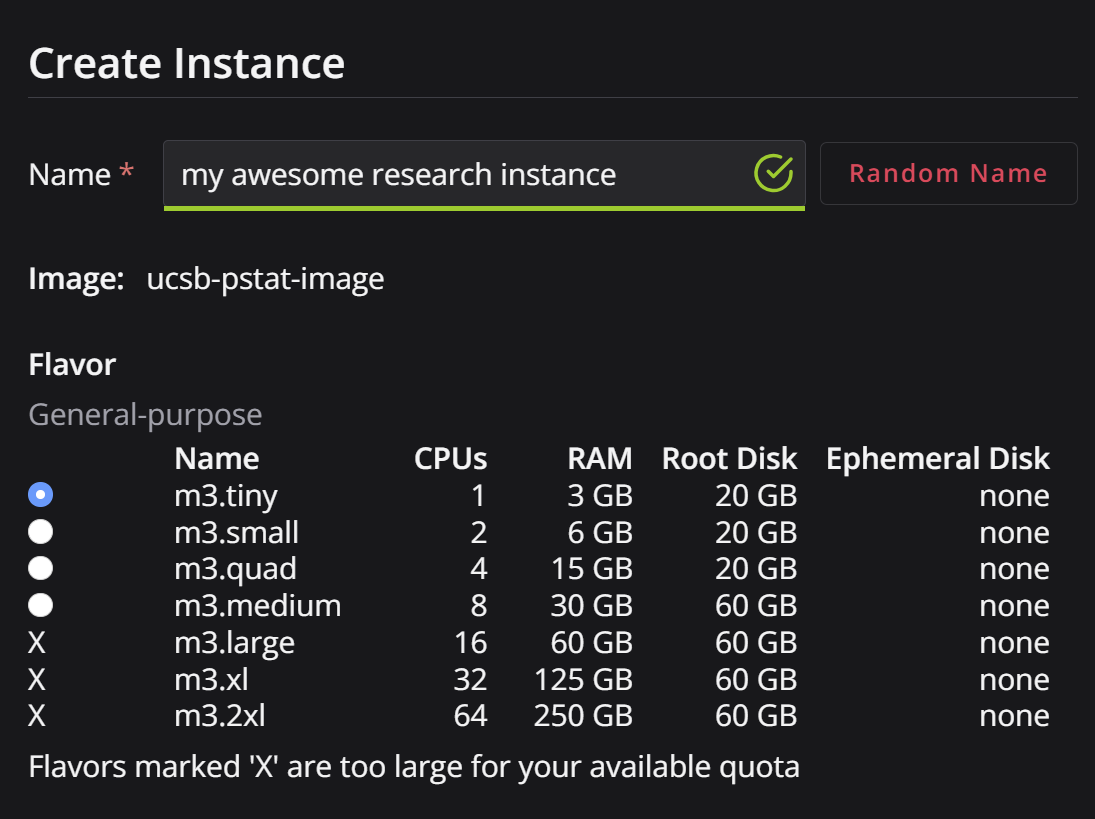
- Select the size of your instance and number of instances if additional are needed.
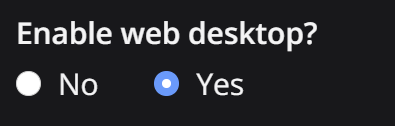
- Select "Yes" for "Enable web desktop":
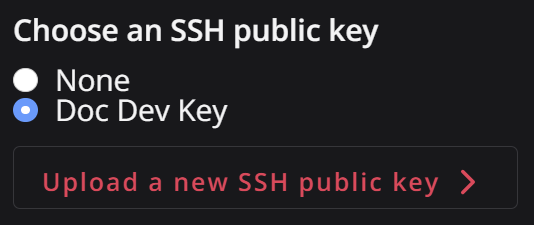
- Select the SSH key that you added in the previous tutorial step or click "Upload a new SSH public key" to add a new one:
- Lastly, hit create!
Once your instance is built and setup, you will be able to dive straight in. We will show off some basic items to take note of in the web UI.
- Click on the Instances box on the main menu:
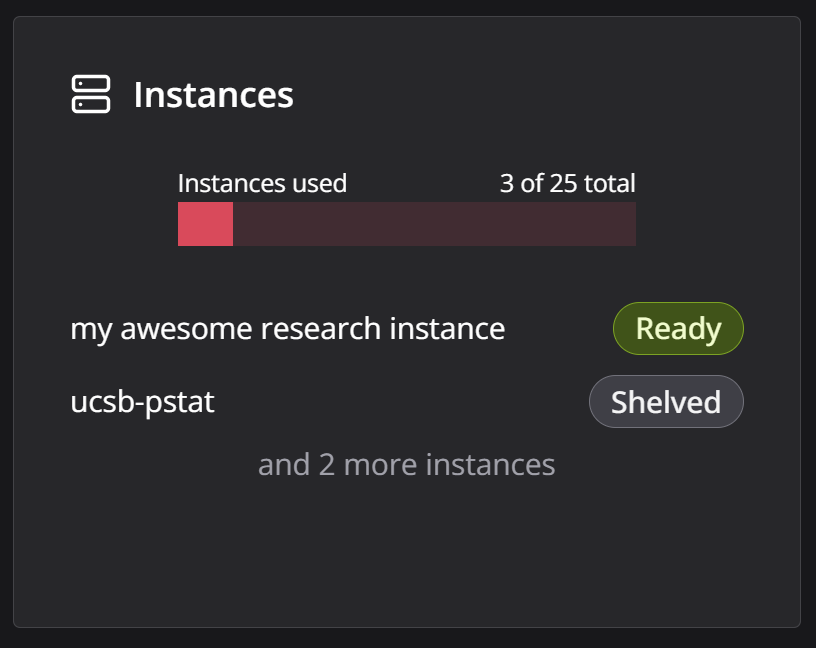
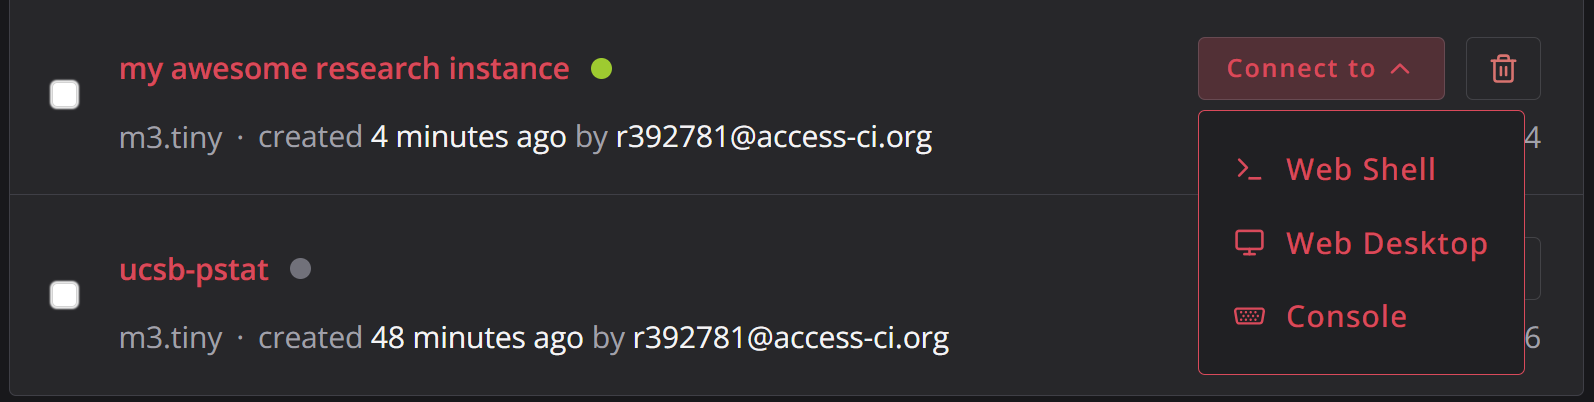
- Inside you will see all your available instances. You have an option to immediately connect to the instance by clicking on "Connect to". Jetstream2 provides a web shell and desktop that you can access from within your browser to complete tasks. Feel free to explore these options; however, we will be focusing on using VS Code in the next part of this tutorial.
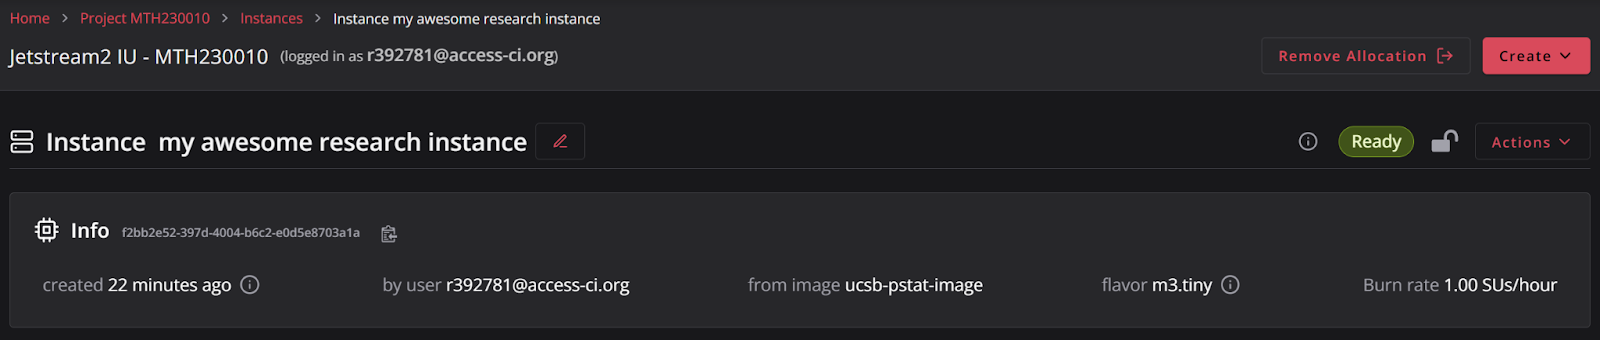
- Click on the name of your instance (e.g. "my awesome research instance"). This will open up a page with all the details of your instance:
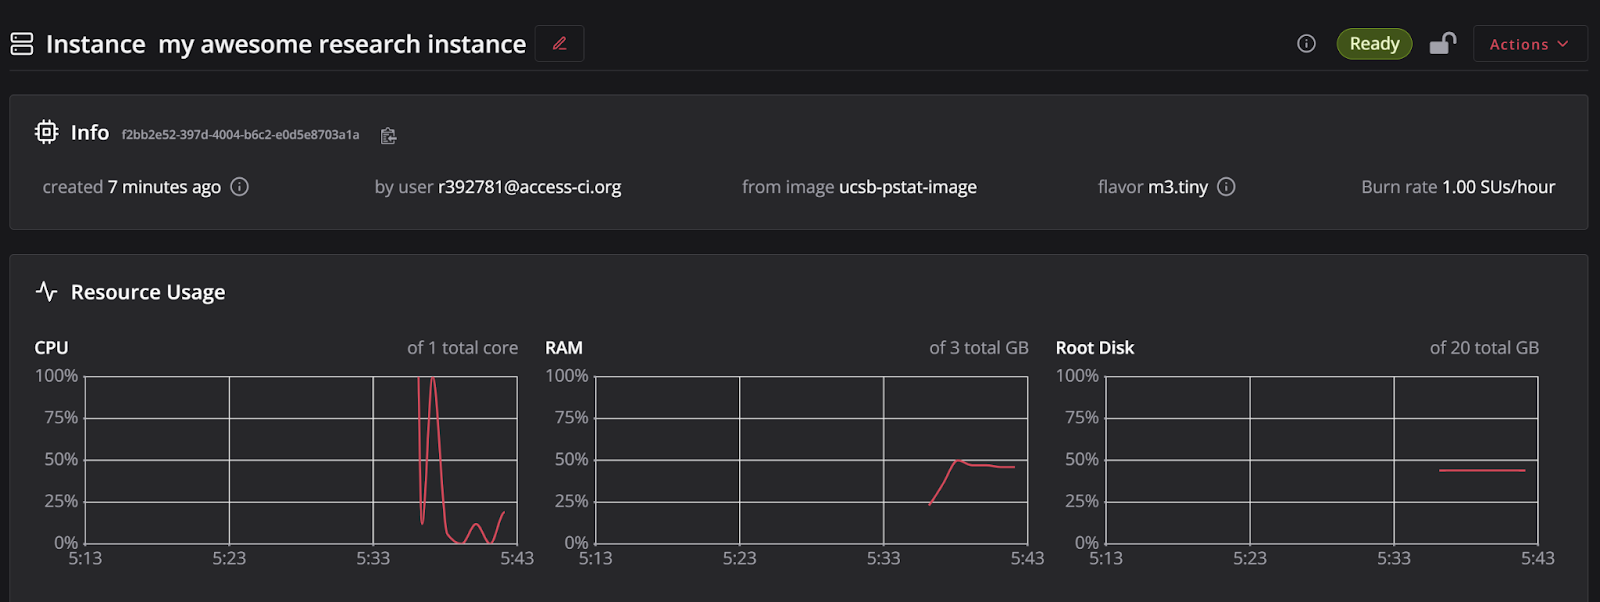
- Scrolling around here, you will find various details and information about your instance. You can interact, attach volumes, create snapshots, etc. through here.
- To resize an instance to a more powerful/less powerful one, click on "Actions" -> "Resize":
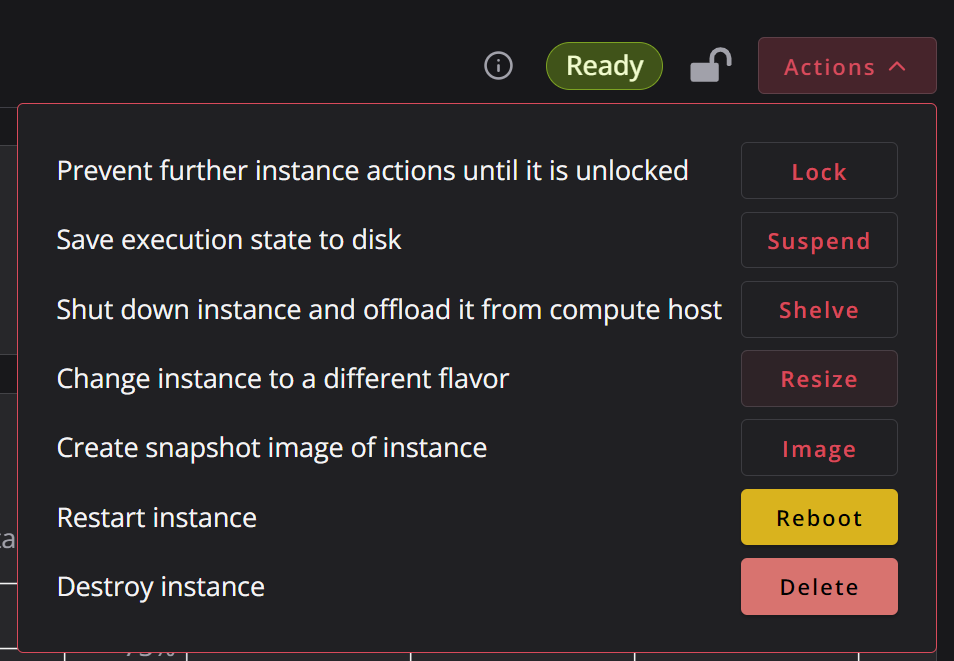
- To shut down your instance click on "Actions" -> "Shelve":
More advanced options are detailed in the Jetstream2 documentation.
Lastly, we will discuss using VS Code with your Jetstream2 instance and getting a quick start with a project development container that is available courtesy of the ucsb-pstat community snapshot image. Development containers allow you to easily port over your research code to an instance along with all the dependencies on languages, packages, and system tools. This requires minimal setup and no need of trying to get all your required tools installed on your own.
Setting up VS Code
- Open up your instance as shown in the previous section:
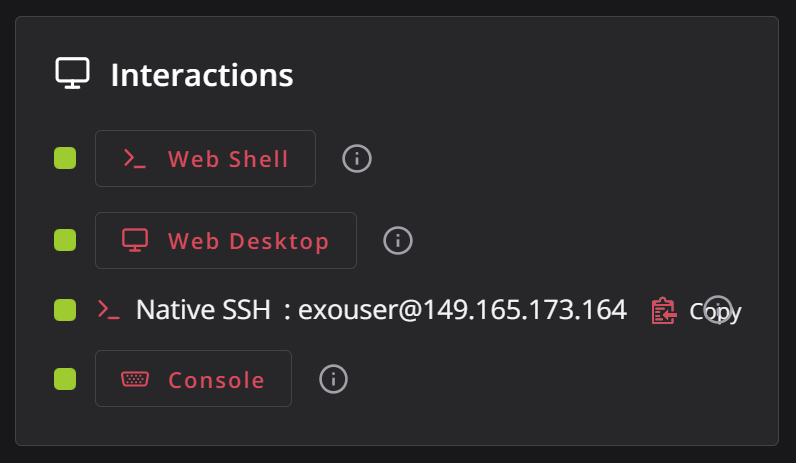
- Scroll down and look for the "Interactions" box. Look for the "Native SSH" option and click the copy button next to it:
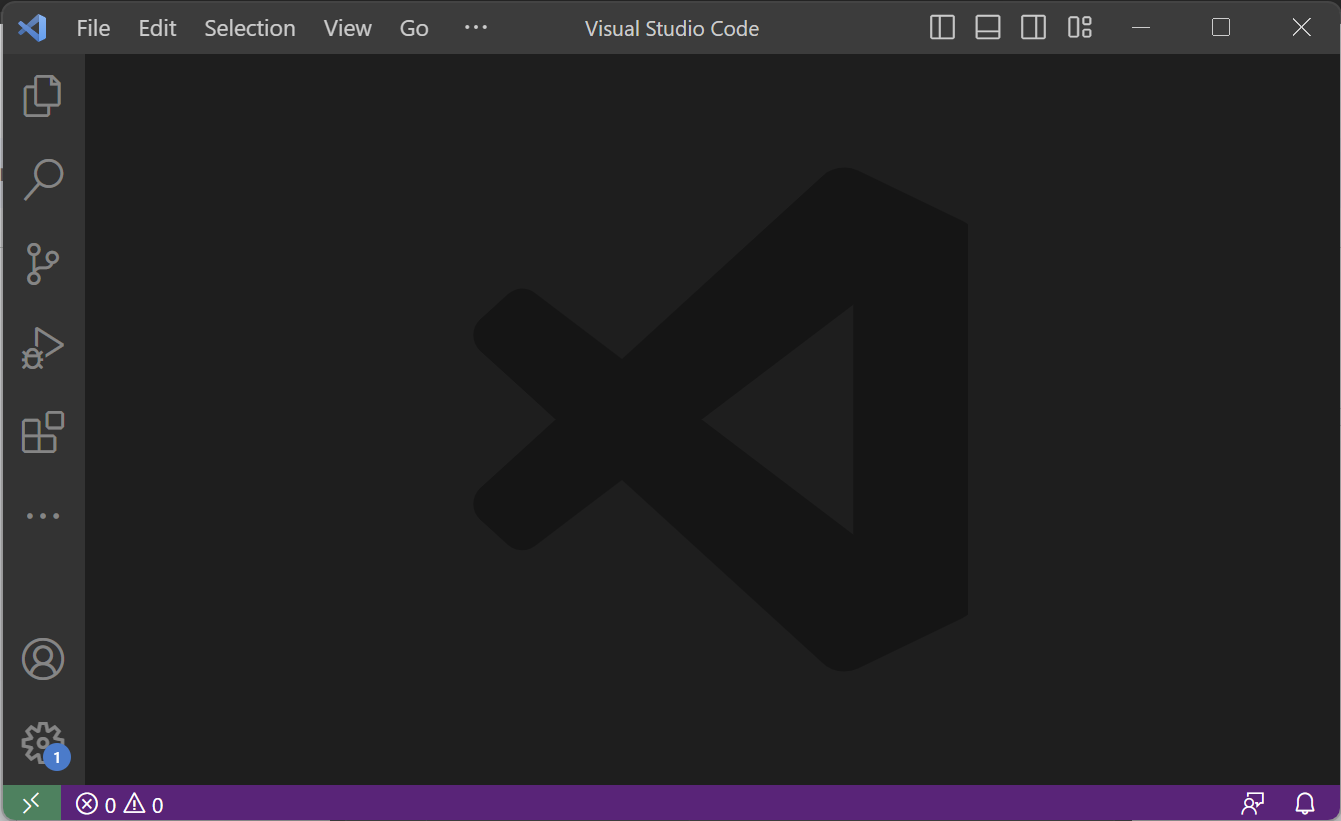
- Open up VS Code. Click on the lower left green button for "Remote Connections":
- The command palette will open. Go down the commands and select "Connect Current Window to Host..."
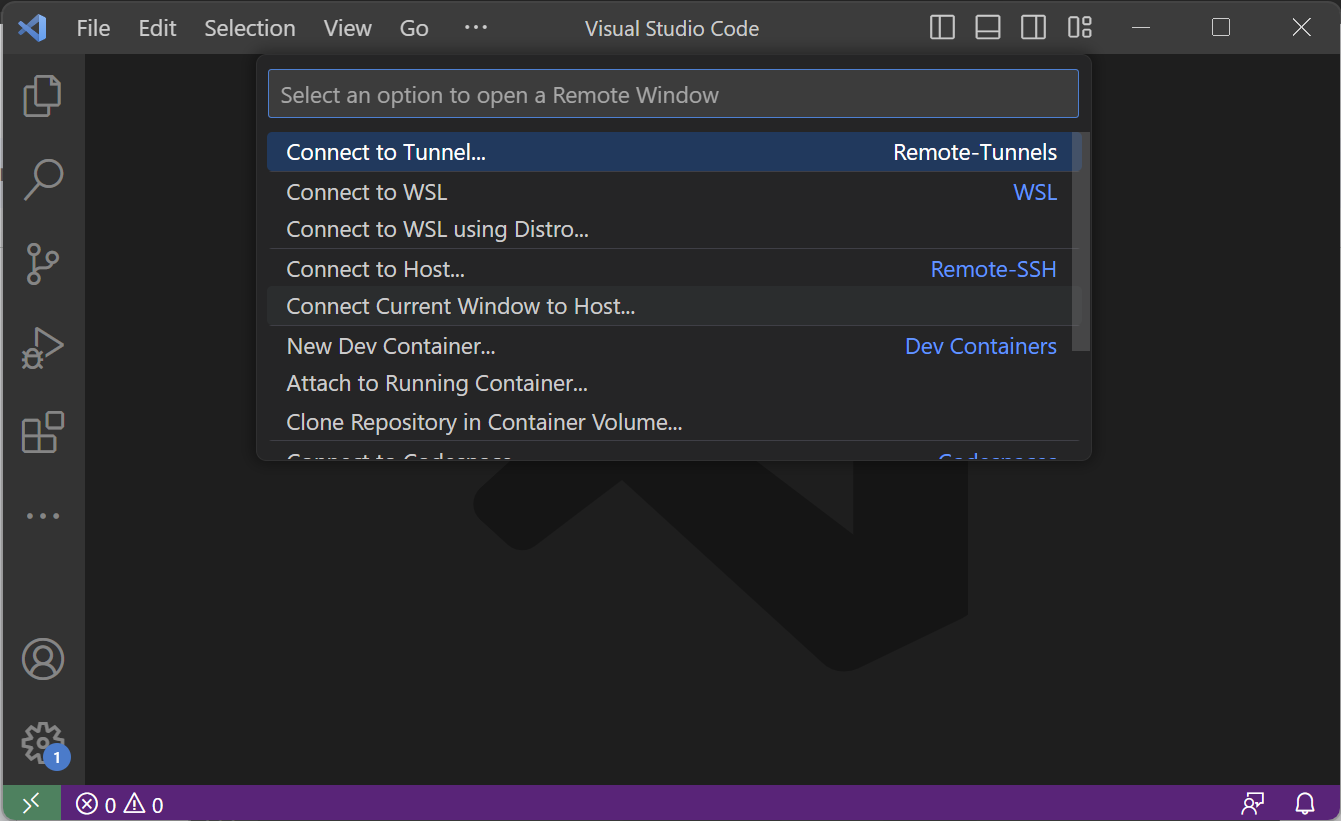
- Select the 2nd to last option "Add New SSH Host..."

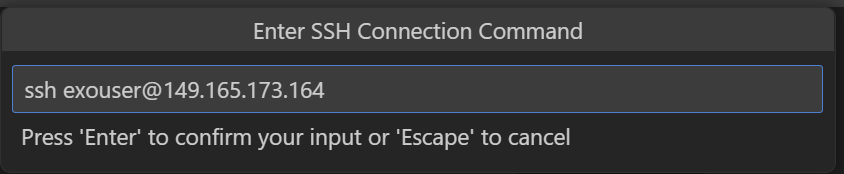
- In the dialogue box, type in "ssh" and paste the "native ssh" instance that you copied earlier:
- Select your default configuration file to update (under your computers username):

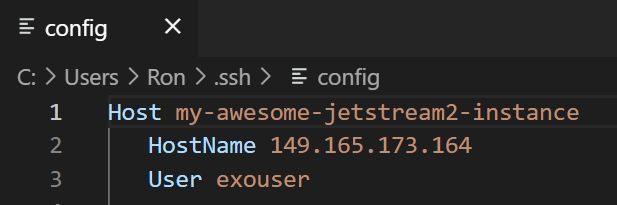
- Click on "Config" to modify the name of the ssh host to be more user friendly and save it. Name it whatever you like e.g. my-awesome-jetstream2-instance:
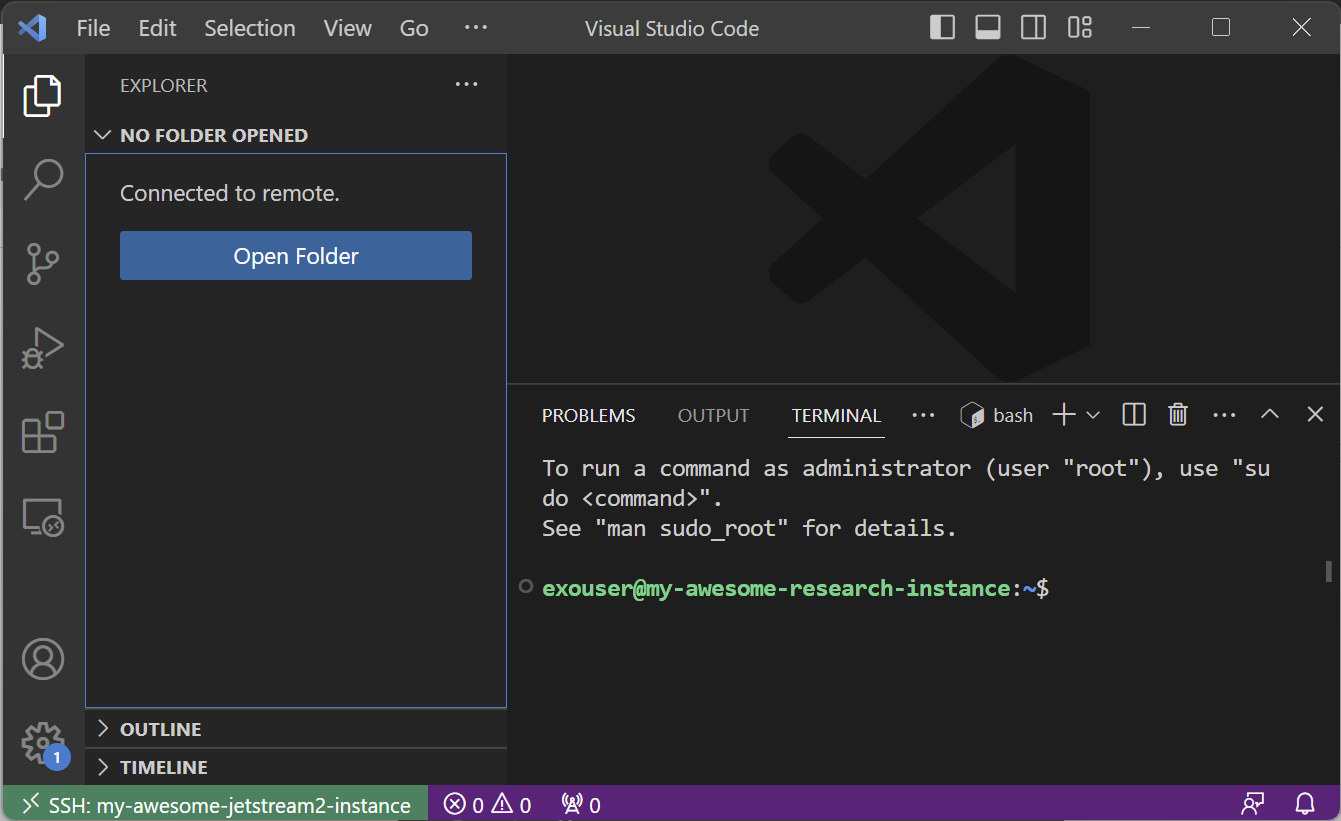
- Click on the lower left green button again for Remote Connections. Select "Connect Current Window to Host...". Your newly configured host will pop up. Select it and let your instance load up.

We covered connecting and setting up VS Code on Jetstream2. You are now ready to continue with your research work using this set up.
Next Steps:
- Jetstream2 documentation
- Develop in Container tutorial lists